|

 Android > ActionBar - 커스텀 액션바 만들기
이번 강의는 커스텀 액션바를 만드는 방법을 알려드리도록 하겠습니다.
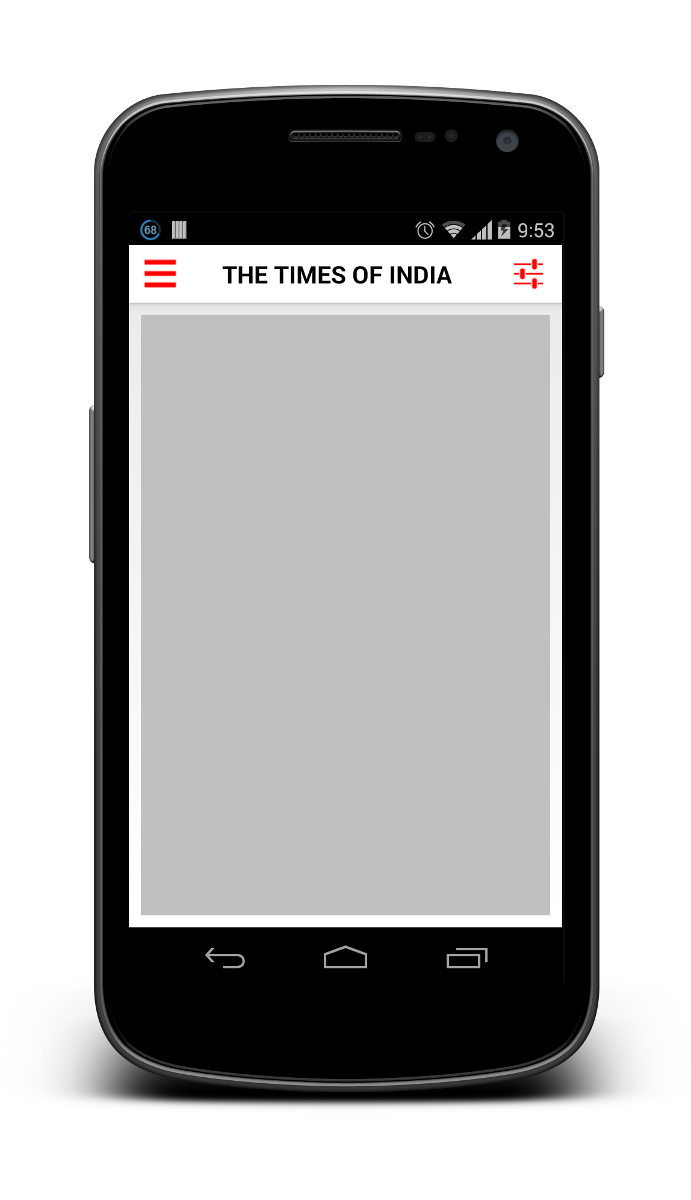
layout 폴더의 [layout_actionbar.xml] 를 만듭니다.
원하시는 디자인으로 만드시면 됩니다.
MainActivity.java 파일 코딩 내용입니다.
위 소스 주석을 보면 알겠지만 layout_actionbar.xml 파일의 layout을 mCustomView 로 참조시킵니다.
그런후 actionbar의 setCustomView() 메서드에 포팅 시키면 끝이 납니다.
아래 소스 처럼요. 백그라운드이미지 처리하는 방법도 있으니, 참고 하시기 바랍니다.
layout 폴더의 [layout_actionbar.xml] 를 만듭니다.
	<?xml version="1.0" encoding="utf-8"?>

	<RelativeLayout xmlns:android="http://schemas.android.com/apk/res/android"
		android:layout_width="match_parent"
		android:layout_height="60dp">
		<ImageButton
			android:layout_width="30dp"
			android:layout_height="30dp"
			android:layout_centerVertical="true"
			android:layout_marginLeft="10dp"
			android:background="@drawable/btn_back"/>

		<ImageView
			android:layout_width="130dp"
			android:layout_height="35dp"
			android:layout_centerInParent="true"
			android:background="@drawable/choayo"/>

		<ImageButton
			android:layout_width="30dp"
			android:layout_height="30dp"
			android:layout_alignParentRight="true"
			android:layout_centerVertical="true"
			android:layout_marginRight="10dp"
			android:background="@drawable/btn_userinfo"/>
	</RelativeLayout>
원하시는 디자인으로 만드시면 됩니다.
MainActivity.java 파일 코딩 내용입니다.
		setContentView(R.layout.layout_noti);

		actionBar = getActionBar();
		actionBar.setNavigationMode( ActionBar.NAVIGATION_MODE_TABS );

		// Custom Actionbar를 사용하기 위해 CustomEnabled을 true 시키고 필요 없는 것은 false 시킨다
		actionBar.setDisplayShowCustomEnabled(true);
		actionBar.setDisplayHomeAsUpEnabled(false);			//액션바 아이콘을 업 네비게이션 형태로 표시합니다.
		actionBar.setDisplayShowTitleEnabled(false);		//액션바에 표시되는 제목의 표시유무를 설정합니다.
		actionBar.setDisplayShowHomeEnabled(false);			//홈 아이콘을 숨김처리합니다.

		//layout을 가지고 와서 actionbar에 포팅을 시킵니다.
		View mCustomView = LayoutInflater.from(this).inflate(R.layout.layout_actionbar, null);
		actionBar.setCustomView(mCustomView);


		// 액션바에 백그라운드 색상을 아래처럼 입힐 수 있습니다.
        //actionBar.setBackgroundDrawable(new ColorDrawable(Color.argb(255,255,255,255)));


		// 액션바에 백그라운드 이미지를 아래처럼 입힐 수 있습니다. (drawable 폴더에 img_action_background.png 파일이 있어야 겠죠?)
		actionBar.setBackgroundDrawable(getResources().getDrawable(R.drawable.img_action_background));

		showNotiPannel = false;
		Button btn = (Button) findViewById(R.id.button1);

		btn.setOnClickListener(
			new Button.OnClickListener() {
				@Override
				public void onClick(View v) {
					 if ( showNotiPannel ){
							notiPannel.setVisibility(View.GONE);
							showNotiPannel = false;
						}else{
							notiPannel.setVisibility(View.VISIBLE);
							showNotiPannel = true;
						}
				}
			}
		);
위 소스 주석을 보면 알겠지만 layout_actionbar.xml 파일의 layout을 mCustomView 로 참조시킵니다.
그런후 actionbar의 setCustomView() 메서드에 포팅 시키면 끝이 납니다.
아래 소스 처럼요. 백그라운드이미지 처리하는 방법도 있으니, 참고 하시기 바랍니다.
	View mCustomView = LayoutInflater.from(this).inflate(R.layout.layout_actionbar, null);
	actionBar.setCustomView(mCustomView);


	// 액션바에 백그라운드 이미지를 아래처럼 입힐 수 있습니다. (drawable 폴더에 img_action_background.png 파일이 있어야 겠죠?)
	actionBar.setBackgroundDrawable(getResources().getDrawable(R.drawable.img_action_background));

	// 액션바에 백그라운드 색상을 아래처럼 입힐 수 있습니다.
	actionBar.setBackgroundDrawable(new ColorDrawable(Color.argb(255,255,255,255)));
|
|
||||
|
이메일 문의 : cak0280@nate.com Copyright 2000 By ENTERSOFT.KR All Rights Reserved. |